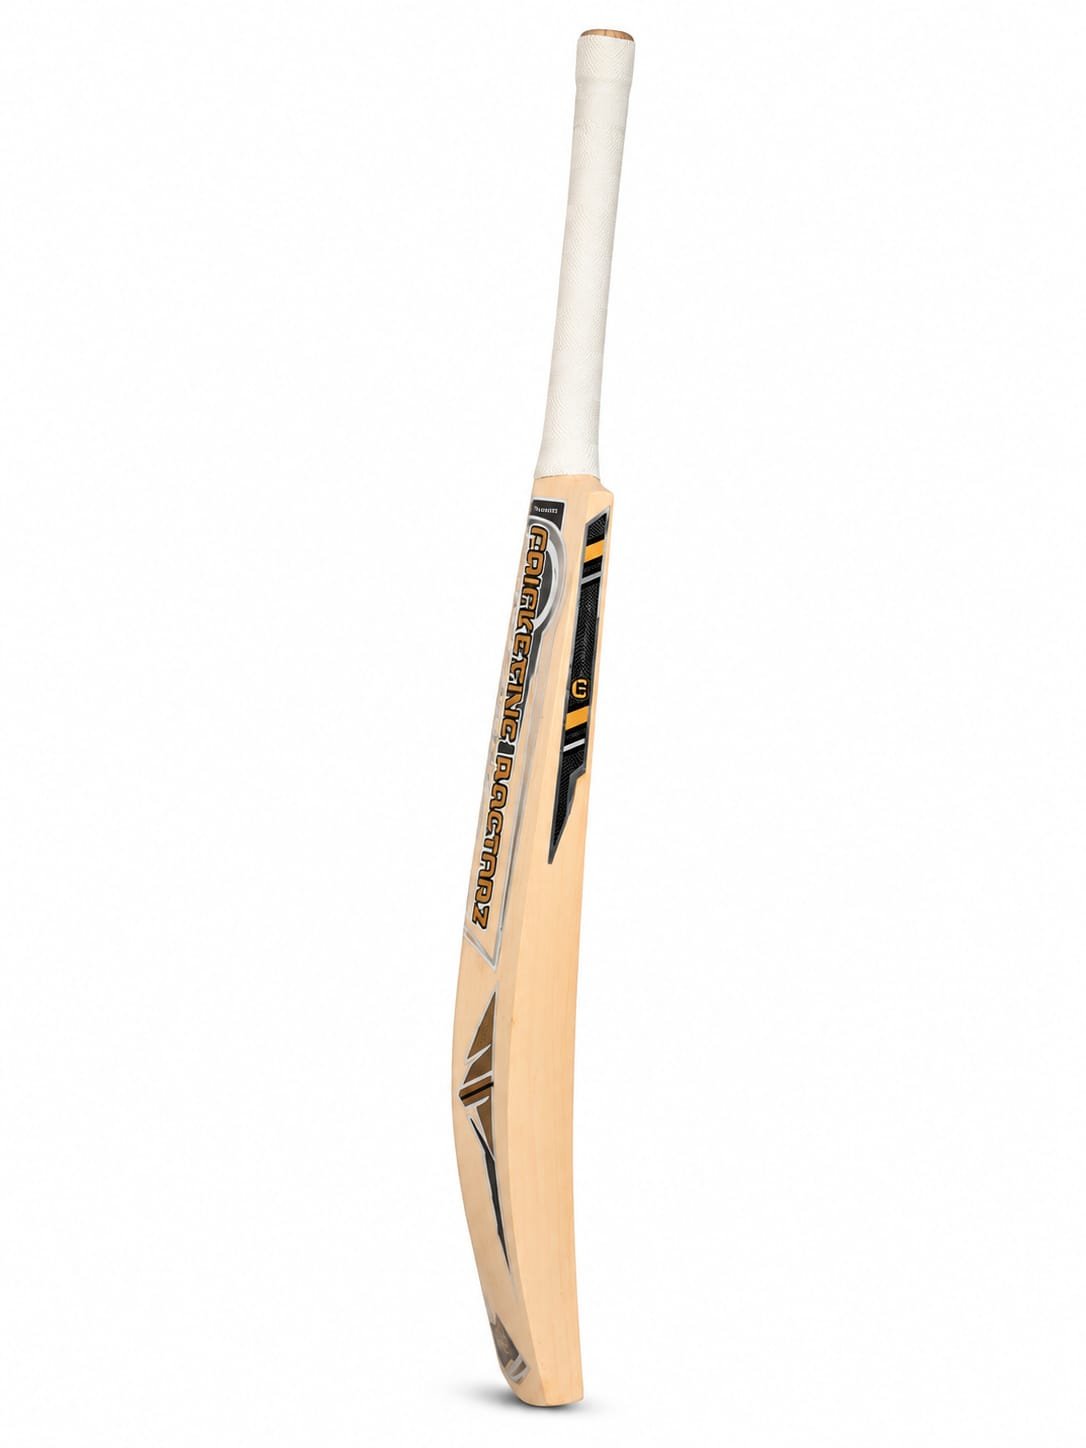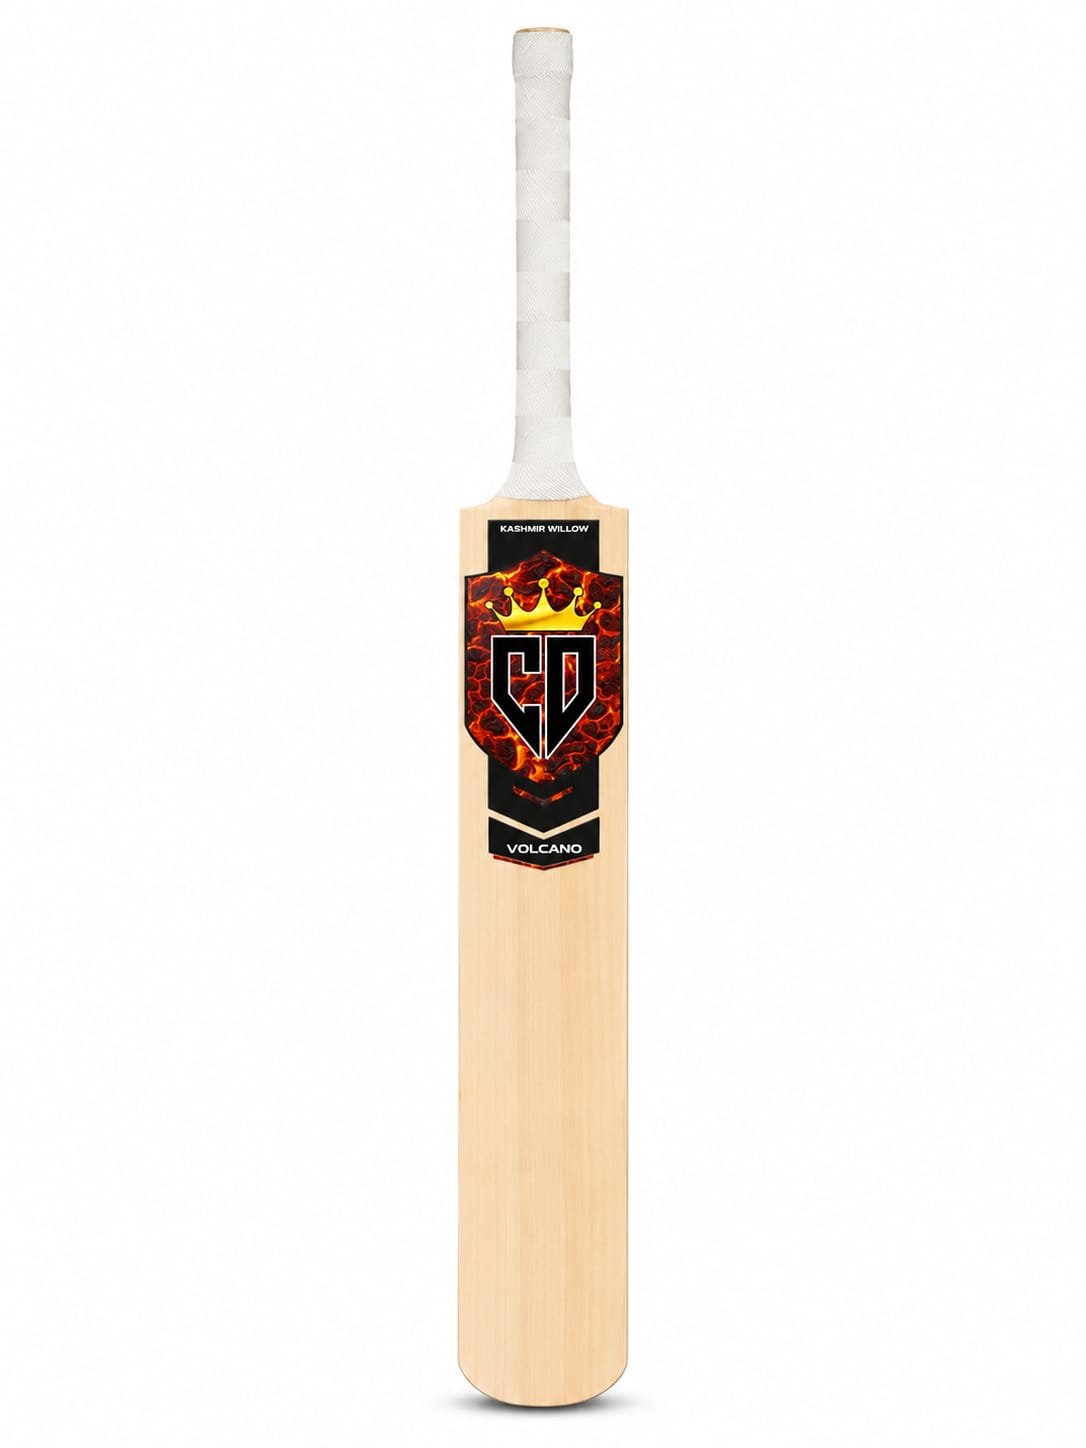
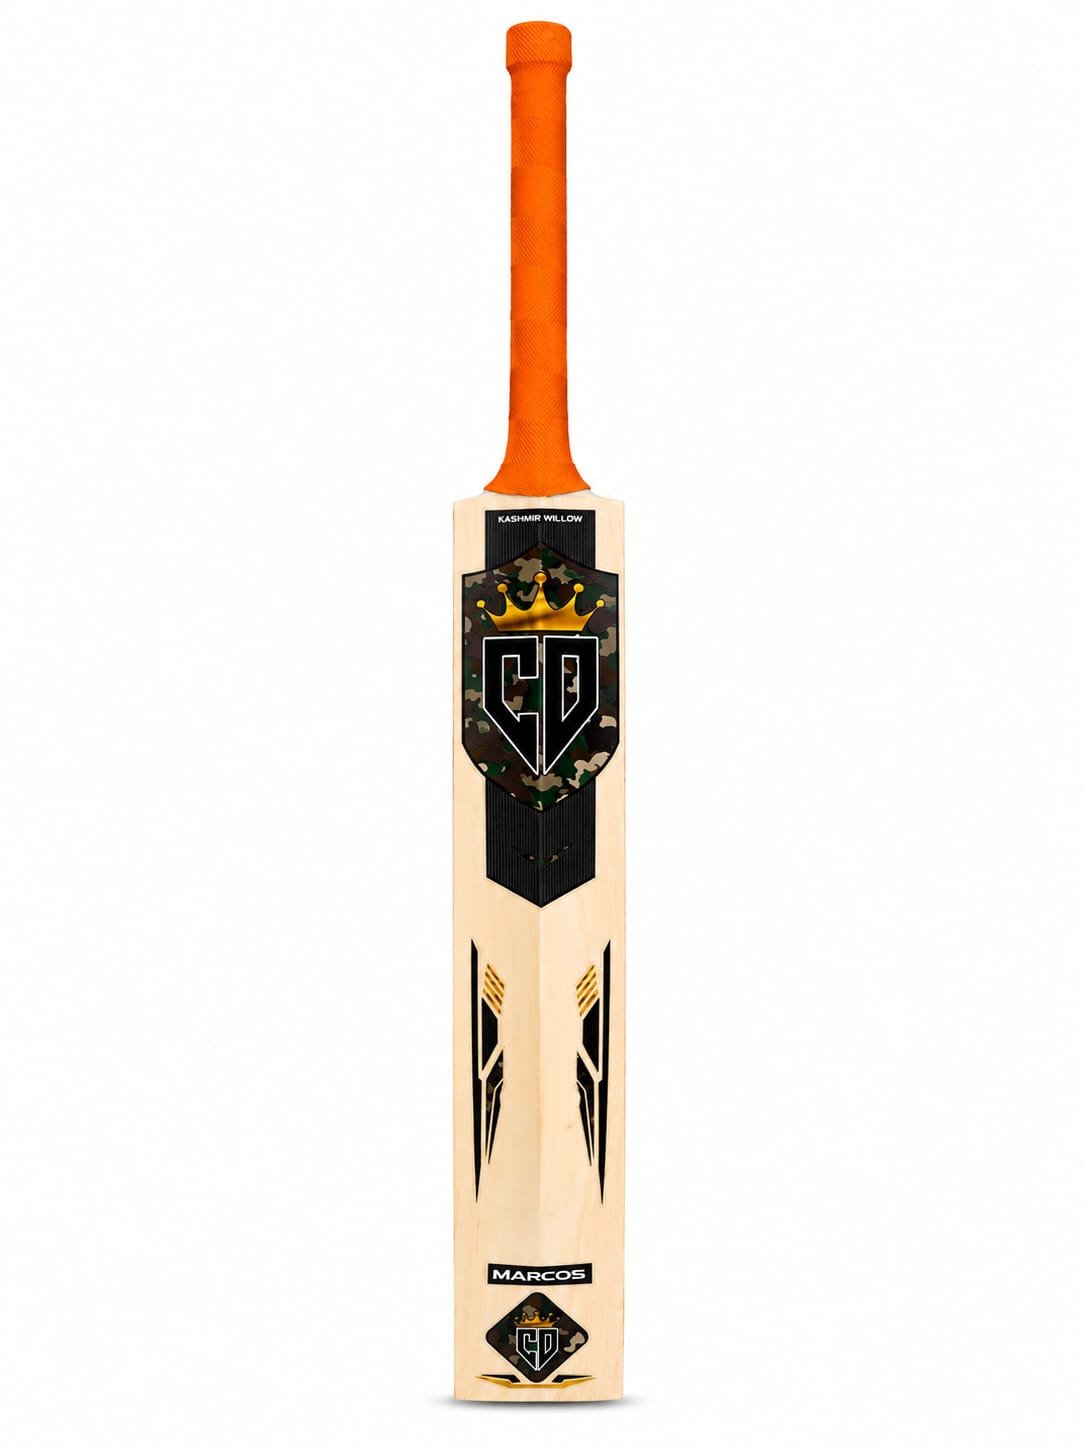
KASHMIR WILLOW BAT | VOLCANO EDITION
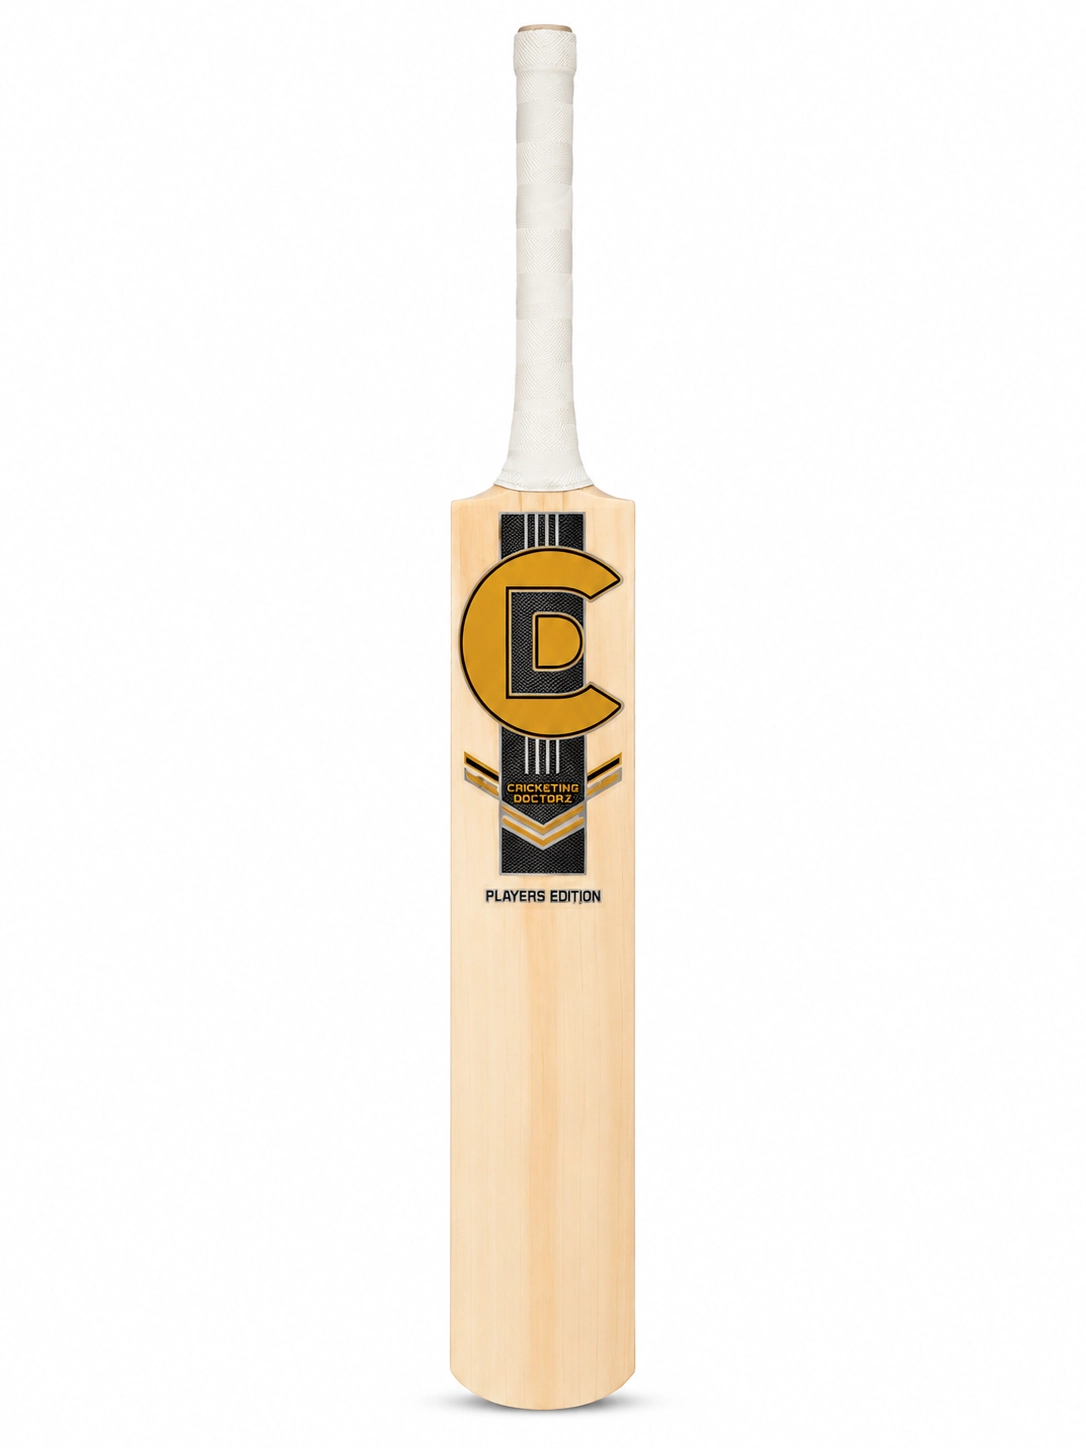
The Cricketing Doctorz Premium Kashmir Willow Cricket Bat is crafted from hand-selected Kashmir willow to deliver outstanding power, durability, and balance. Designed for leather ball , this lightweight bat features a large sweet spot, thick edges, and excellent pickup, making it the perfect choice for beginners, club cricketers, and all-round players looking to buy a Kashmir willow cricket bat online.
KASHMIR WILLOW CRICKET BAT | VOLCANO EDITION
The Cricketing Doctorz Premium Kashmir Willow Cricket Bat is built for cricketers who want outstanding performance, durability, and value. Carefully handcrafted from premium-quality Kashmir Willow, this bat delivers excellent ping, a powerful sweet spot, and a lightweight pickup to help players perform confidently in every match.
Designed for leather ball cricket , the bat combines traditional craftsmanship with modern bat-making techniques. The thick edges, balanced profile, and premium cane handle provide superior control, enhanced power, and exceptional comfort during long innings. Whether you're playing school cricket, academy matches, club tournaments, or weekend games, the Cricketing Doctorz Kashmir Willow Bat offers dependable performance every time you step onto the field.
Each bat is manufactured using carefully selected Kashmir willow clefts to ensure durability and consistent performance. The optimized profile creates a large sweet spot, allowing batsmen to play attacking strokes with confidence while maintaining excellent balance and control.
Key Features
- Premium hand-selected Kashmir Willow
- Excellent ping and powerful stroke play
- Thick edges with a large sweet spot
- Lightweight pickup and balanced profile
- Premium multi-piece cane handle
- Comfortable shock-absorbing grip
- Durable handcrafted finish
- Suitable for leather ball and tennis ball cricket
- Ideal for beginners, academy players, club cricketers, and recreational players
- Excellent value for money
- Why Choose Cricketing Doctorz Kashmir Willow Cricket Bat?
Cricketing Doctorz combines quality craftsmanship with performance-driven design to deliver premium cricket equipment trusted by players across India. Our Kashmir Willow Cricket Bats are built to provide excellent durability, impressive power, and reliable performance without compromising on comfort.
Whether you're improving your game or competing regularly, this bat offers the confidence needed to perform at your best.
Buying Guide
When choosing the best Kashmir Willow Cricket Bat, consider these important factors:
- Willow Quality: Premium Kashmir willow offers better durability and consistent performance.
- Weight & Pickup: A balanced bat improves control and shot-making ability.
- Sweet Spot: A larger sweet spot provides greater forgiveness on off-centre shots.
- Handle Quality: A premium cane handle reduces vibration and enhances comfort.
- Playing Style: Choose a bat that suits your batting technique and preferred stroke play
Kashmir Willow Cricket Bat
Buy Kashmir Willow Cricket Bat Online
Best Kashmir Willow Cricket Bat
Premium Kashmir Willow Bat
Kashmir Willow Bat India
Cricket Bat Online
Leather Ball Cricket Bat
Tennis Ball Cricket Bat
Lightweight Cricket Bat
Handcrafted Cricket Bat
Cricket Equipment Online
Cricketing Doctorz
CRICKET BAT KNOCKING & MATCH READY GUIDE
Why is Knocking Important?
A new cricket bat is made from natural willow, which requires proper knocking to compress and strengthen the fibers. This process reduces the risk of cracks and helps the bat perform at its best.
Step 1: Apply Raw Linseed Oil
* Apply a light coat of raw linseed oil on the face, edges, and toe of the bat.
* Avoid applying oil on stickers or the splice area.
* Allow the bat to absorb the oil for 12–24 hours.
* Do not over-oil the bat.
Step 2: Begin Knocking-In
Using a wooden bat mallet:
* Start gently on the face of the bat.
* Gradually increase the force over time.
* Knock evenly across the entire face.
* Carefully round and knock the edges at a 45° angle.
* Avoid striking the back of the bat.
Recommended Knocking Time
Beginner Knocking: 4–6 Hours
Professional Match Preparation: 6–8 Hours
Machine Knocked Bats: Additional 1–2 Hours Recommended
Step 3: Start with Old Cricket Balls
After knocking:
* Use an old leather ball for the first few net sessions.
* Play soft defensive shots initially.
* Gradually increase the power of your strokes.
* Inspect the bat regularly for seam marks or cracks.
How to Make Your Bat Match Ready
✓ Complete the knocking-in process.
✓ Fit an anti-scuff sheet on the face.
✓ Apply a toe guard to protect against moisture and yorkers.
✓ Practice with old leather balls before match use.
✓ Once the bat shows no excessive seam marks, it is ready for matches.
Bat Care Tips
* Store in a cool and dry place.
* Avoid wet conditions and excessive heat.
* Never hit wet balls with the bat.
* Reapply a small amount of linseed oil when required.
* Use a bat cover during transport.
Important Note
Even factory pre-knocked bats require a short knocking-in period before match play. Proper preparation increases durability, improves performance, and extends the life of your cricket bat.
Frequently Asked Questions
Is this bat suitable for leather ball cricket?
Yes. This bat is specially designed and recommended for leather ball cricket.
Is knocking-in required?
Yes. Proper knocking-in is recommended before using the bat with a leather cricket ball to improve durability and maximize performance.
Who should use this bat?
The bat is ideal for academy players, school cricketers, club players, league cricketers, and anyone looking for a premium Kashmir Willow bat for leather ball cricket.
Does the bat have a lightweight pickup?
Yes. The balanced profile provides a lightweight pickup while maintaining excellent power and control.
What are the advantages of Kashmir Willow for leather ball cricket?
Premium Kashmir Willow offers excellent durability, powerful stroke play, reliable performance, and great value, making it an excellent choice for regular leather ball cricket.
Why choose Cricketing Doctorz Kashmir Willow Leather Ball Cricket Bat?
Cricketing Doctorz bats combine premium Kashmir willow, exceptional ping, thick edges, lightweight pickup, handcrafted quality, and excellent balance to deliver outstanding performance for serious cricketers.
Buy Kashmir Willow Leather Ball Cricket Bat Online
Looking for the best Kashmir Willow Leather Ball Cricket Bat in India? Shop the Cricketing Doctorz Premium Kashmir Willow Leather Ball Cricket Bat for powerful performance, excellent durability, and exceptional value. Built for leather ball cricket, it's the perfect choice for players who want premium quality at an affordable price.
Cricketing Doctorz – Prescribed for Performance.
.jpeg)